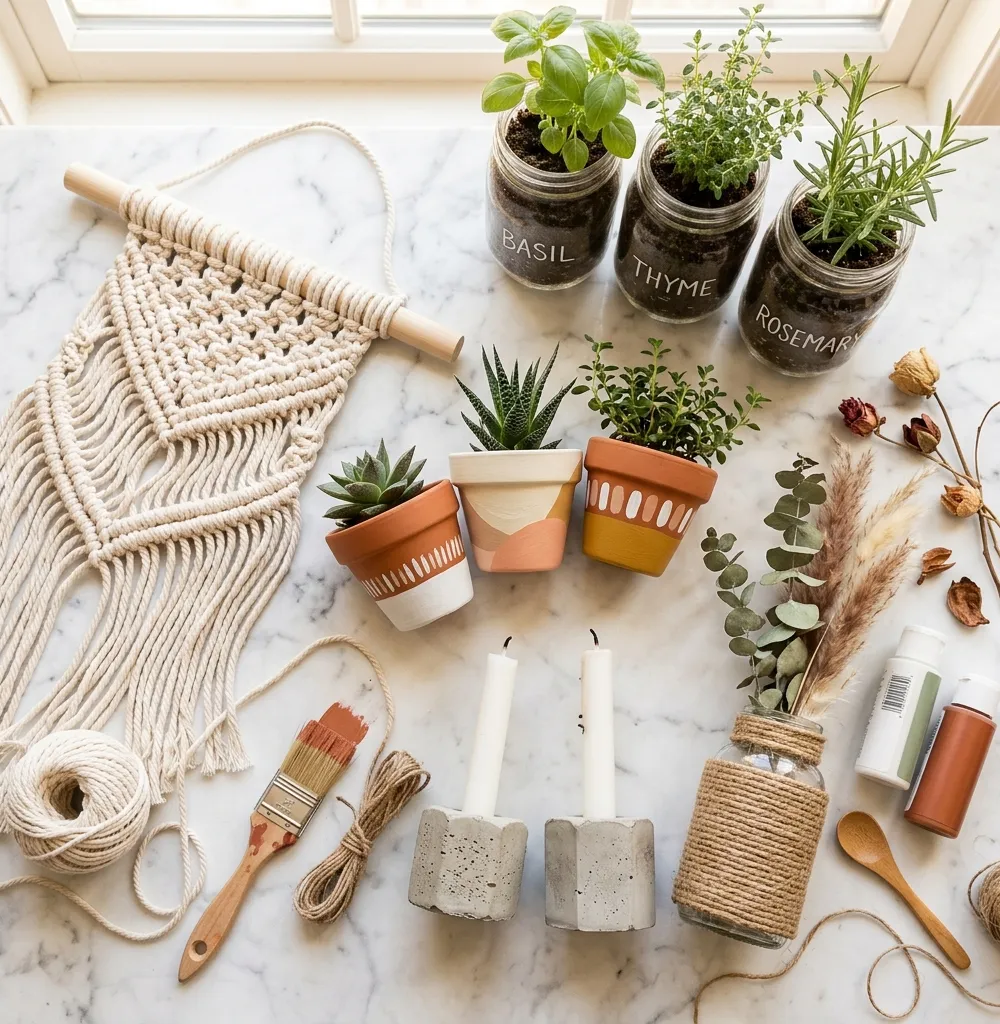
15 DIY Home Decor Projects You Can Do This Weekend
Easy and affordable DIY decor projects that will add personality and warmth to your home. No advanced skills required — just creativity, a few supplies, and a free weekend.
MyHomeDecor
There’s something deeply satisfying about adding handmade touches to your home. Unlike bought décor, something you made yourself carries meaning — a memory of a weekend afternoon with good music on, the satisfaction of a skill learned, the pride of showing guests something you created.
These 15 DIY projects are beginner-friendly, budget-conscious, and genuinely achievable in a single weekend — no workshop, no expensive tools, and no design experience required. We’ve organized them by time commitment so you can pick based on how much of your weekend you want to dedicate.
Quick Wins (Under 1 Hour Each)
These projects can be completed before your morning coffee goes cold. They’re high-impact, low-effort, and perfect for instant gratification decorating.
1. Painted Terra Cotta Pots
What you need: Plain terra cotta pots ($1-3 each from garden centers), chalk paint in 2-3 colors, small foam brush, clear sealer spray.
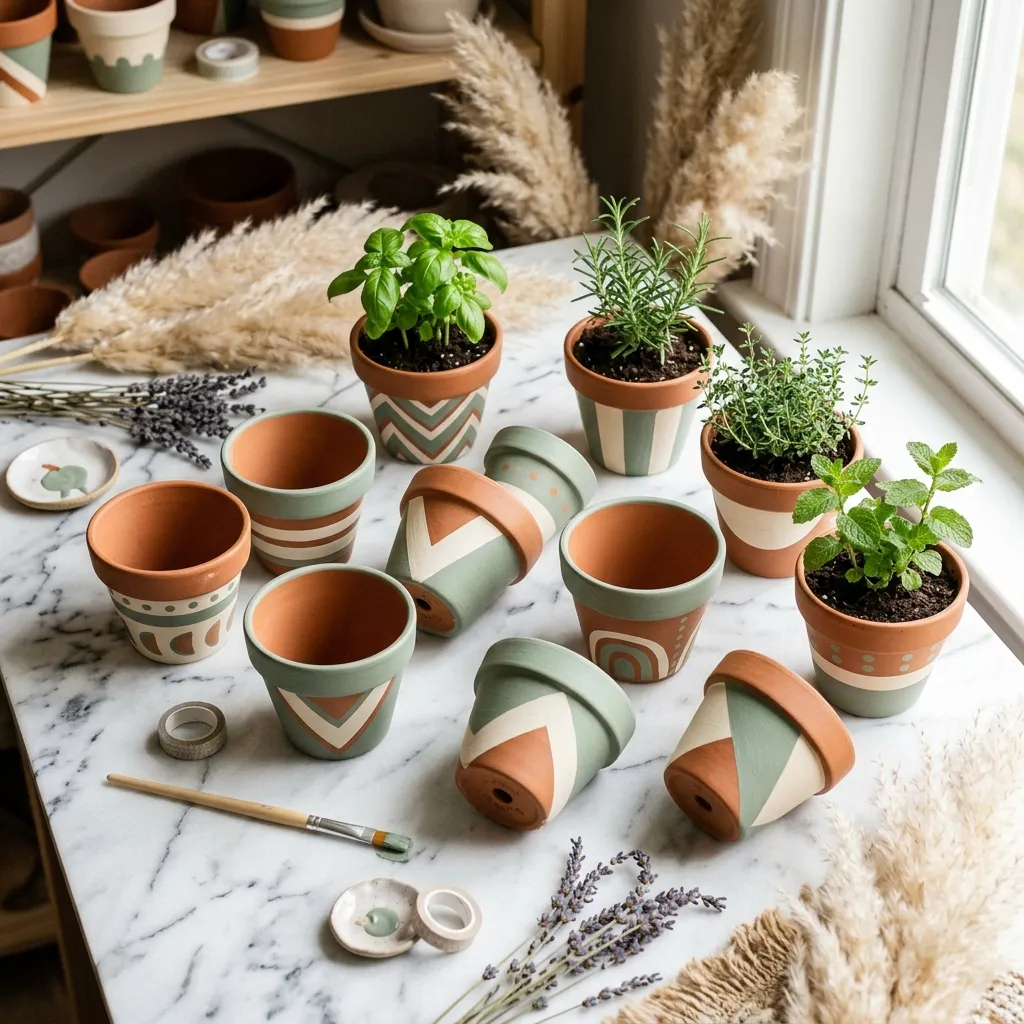
Transform basic pots with chalk paint in trendy earth tones — terracotta orange, sage green, warm cream, dusty clay. For a modern geometric look, wrap the pot with painter’s tape in diagonal or horizontal stripes before painting. Remove the tape while the paint is still slightly wet for the cleanest edges.
For added texture, try dry brushing: load a small amount of paint on your brush, then wipe most of it off before dragging across the surface. This creates a beautiful, aged effect. Seal with a clear outdoor spray sealer to protect against moisture if you’re using them for real plants.
2. Linen Napkin Pillow Covers
What you need: Two large linen napkins (20×20“ or larger), a pillow insert of the same size.
No sewing machine, no needle, no thread. Lay one napkin flat, place your pillow insert in the center, fold the napkin sides over it like wrapping paper, then place the second napkin on top and tuck the edges under. The linen holds its shape without any fastening needed. The result looks intentional, textured, and expensive.
Pro tip: Use napkins in complementary colors — one cream, one warm oatmeal — for a layered look.
3. Washi Tape Gallery Wall
What you need: Multiple rolls of washi tape in coordinating patterns, a level, ruler.
Create geometric frames, bold stripes, or abstract pattern panels directly on your wall using decorative washi tape. It adheres without damaging paint and removes cleanly — making this the ultimate renter-friendly wall treatment. Create multiple “frames” of different sizes in a salon arrangement, or use a single bold geometric pattern as an accent panel.
4. Mason Jar Herb Garden
What you need: Mason jars or recycled glass jars, chalk paint, small drill or nail (for drainage), potting soil, herb seedlings.
Paint jars in your chosen palette, add drainage holes in the bottom with a small drill or sharp nail, add potting soil and herbs, and line them up on your windowsill. Label each jar with a chalkboard paint strip or small kraft paper tag. This creates a functional display that’s equally beautiful as décor.
Best herbs for indoor windowsill gardens: basil, mint, chives, thyme, and rosemary.
5. Coffee Table Vignette Styling
What you need: A decorative tray, 3-4 objects from around your home, one book or candle.
This isn’t really a project — it’s an art form. Gather a wooden or lacquer tray, a stack of 2-3 art or design books (spines facing out), a small plant or vase with dried stems, and a candle or small sculptural object. Arrange everything within the tray. The tray acts as a visual container, grouping the objects into an intentional moment rather than random stuff on a table.
The rule of threes applies: odd numbers of objects always look more natural than even.
Medium Projects (2–4 Hours)
These projects require a little more time and patience, but the results are genuinely impressive — and they photograph beautifully.
6. Floating Shelf Styling Installation
What you need: Pre-made floating shelves (IKEA LACK are perfect), wall anchors, level, drill, objects to style.
Install a set of 2-3 floating shelves in a staggered arrangement rather than stacked directly on top of each other. Staggered shelves feel more intentional and provide space to style taller objects. Once up, apply the curated shelf-styling principles: odd numbers, varying heights, mix of books + plants + decorative objects, 30% negative space.
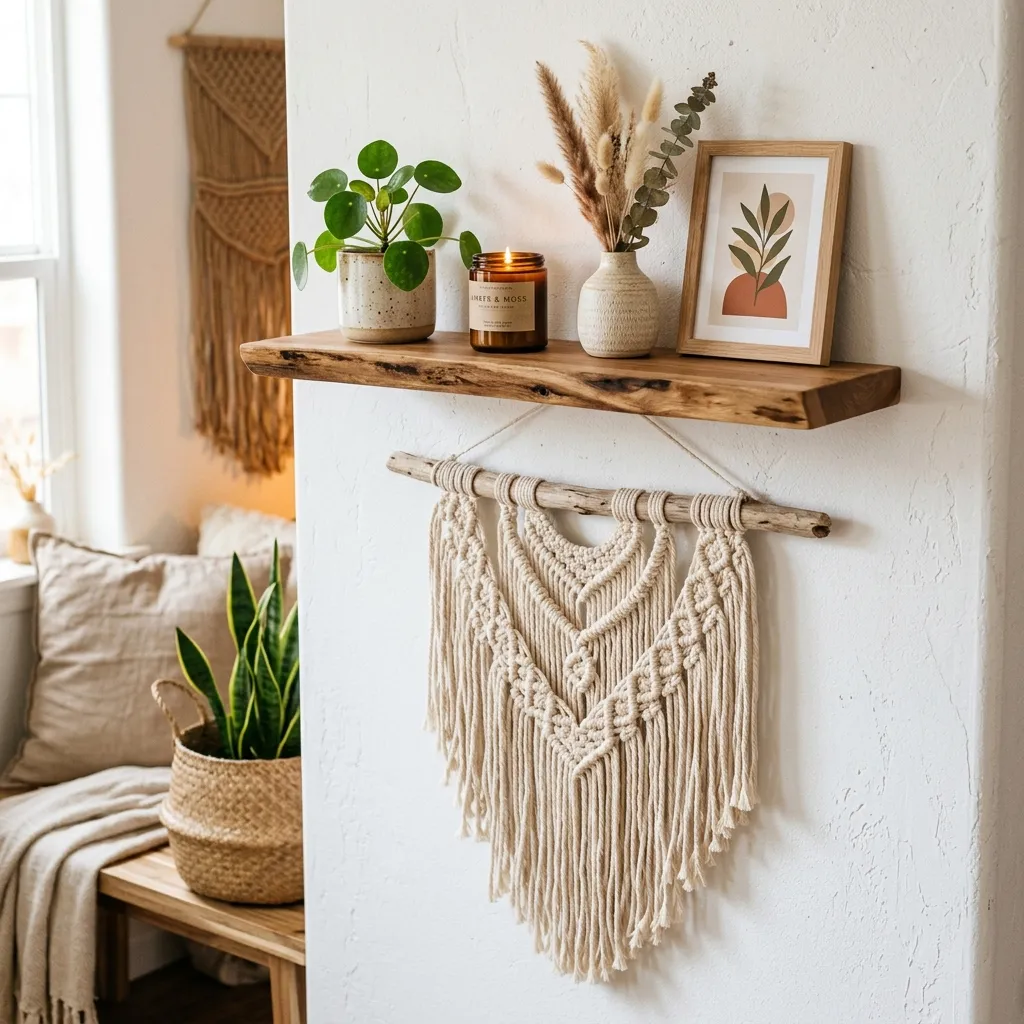
Shelf styling sequence (from back to front):
- One tall item at the back: a book stack, tall vase, framed print leaning
- One mid-height item: a plant, ceramic vessel, small sculptural object
- One small item in front: a candle, small figure, trailing plant spilling forward
- One horizontal element: a book lying flat, a small tray
7. Fabric-Wrapped Lampshade
What you need: A plain fabric lampshade (thrifted or plain white), fabric of your choice, fabric glue or Mod Podge, scissors.
Choose a fabric that complements your room’s color palette — a bold botanical print, a geometric pattern, or a textured linen. Cut the fabric into strips and brush fabric glue onto one section of the lampshade at a time, pressing the fabric on smoothly and overlapping edges at the top and bottom by about 1cm. Work in sections around the shade, smoothing out any bubbles as you go. Fold the top and bottom edges over and glue them inside for a clean finish.
This transforms a $5 thrift store lamp into a designer-looking statement piece for under $20.
8. Concrete Candle Holders
What you need: Quick-set concrete mix, silicone baking molds, water, a candle (to create the cavity), sandpaper.
Mix quick-set concrete according to package directions to a thick peanut butter consistency. Pour into silicone molds — silicone cupcake molds, geometric silicone molds from the baking aisle, or flexible ice cube trays. Press a wax candle down into the center to create the cavity (wrap the bottom of the candle in plastic wrap first so it releases cleanly). Allow to cure for 24 hours, then sand any rough edges smooth with medium-grit sandpaper.
The result: industrial-modern, minimal candle holders that look genuinely expensive and weigh satisfyingly substantial in the hand.
9. Rope-Wrapped Vase
What you need: A glass vase or bottle, natural rope (sisal, jute, or cotton in 3-5mm thickness), hot glue gun and glue sticks.
Starting at the base of the vase, apply a thin bead of hot glue and press the end of the rope into place. Work your way up the vase in tight rows, applying glue a short section at a time and pressing the rope firmly in place. Maintain even tension so the rows sit flush against each other without gaps. Trim the end and glue it flat to finish.
Variations: use rope in different thicknesses, alternate between natural rope and colored jute, or leave sections of the glass exposed for a more contemporary look.
10. Photo Ledge Display
What you need: Pre-made wooden photo ledges (IKEA MOSSLANDA are ideal), wall anchors, level, drill, frames and photos.
Mount 2-3 photo ledges at different heights on a single wall — not stacked vertically like shelves, but in a more dynamic arrangement. The key advantage of ledges over traditional gallery walls: you can swap artwork without making new nail holes. Lean frames of varying sizes, mix in small plants, and include objects between frames (a small ceramic, a vase) for a three-dimensional effect.
Weekend Projects (Half Day or More)
These projects take more time and preparation but create genuinely dramatic transformations. Set aside a Saturday morning and you’ll have something to be proud of by Sunday.
11. Pallet Wood Wall Art Panel
What you need: Reclaimed pallet wood (free from garden centers or hardware stores), sandpaper, wood stain in 3 shades, saw or jigsaw, screws, french cleat or picture wire for hanging.
Disassemble a pallet and cut the boards to the same length. Sand each board and stain in varying tones — a mix of light, medium, and dark shades creates beautiful depth and dimension. Arrange the boards in a pattern (all horizontal, alternating with some vertical pieces, or in a herringbone if you’re ambitious) and attach them to a plywood backing with screws. Hang the whole panel as a single piece.
The weathered character of reclaimed wood means no two panels look the same — which is precisely the point.
12. Macramé Wall Hanging
What you need: Macramé cord (3mm cotton, natural or dyed), a wooden dowel rod, scissors, a ruler, masking tape to secure the dowel while working.
Learn three basic knots — the square knot, the half hitch, and the lark’s head — and you can create almost any macramé piece. Start with a simple design: cut your cords at 4x your desired finished length, fold in half, and lark’s head them onto the dowel. Work square knots across the width, allowing them to gradually splay into a V-shape, then add fringe at the bottom.
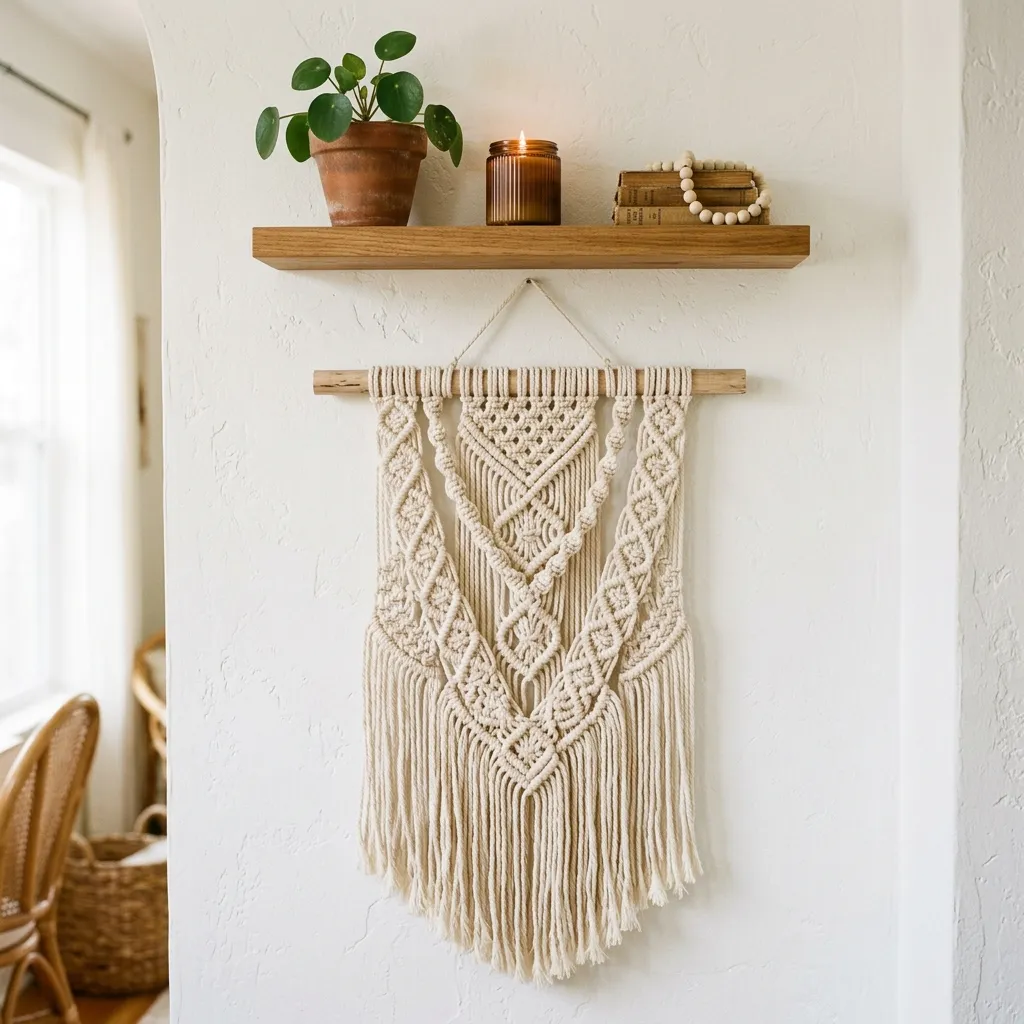
Beginner tip: watch one 10-minute YouTube tutorial on the three basic knots before starting. Once the knots click, the rest is repetition and rhythm.
13. Painted Accent Wall
What you need: Paint in your chosen color, painter’s tape, roller, angled brush for edges, drop cloth.
Don’t paint all four walls — pick one. The wall behind the sofa, bed, or fireplace is usually the most impactful choice. Use painter’s tape to protect the trim, ceiling, and adjacent walls, and cut in along the edges with an angled brush before rolling the center. Two coats is always better than one.
In 2026, the most popular accent wall colors are deep terracotta, muted sage green, warm dusty blue, rich mushroom brown, and moody charcoal. Any of these reads far more interesting than “greige” while still being livable.
14. Custom Bookshelf Styling
What you need: Your existing bookshelf, an afternoon, books, plants, decorative objects.
Remove dust jackets from paperbacks — the raw book beneath is almost always more beautiful. Organize books by color in loose groups rather than strict ROYGBIV order; a mix of warm neutrals (cream, tan, rust) with a few darker books for contrast creates a more sophisticated look than a rainbow. Intersperse small plants, ceramic objects, and framed art throughout. Stack some books horizontally with a small object on top.
Stand back every 15 minutes and edit — remove anything that doesn’t contribute and resist the urge to fill every inch.
15. Window Box Planter
What you need: Pressure-treated 2×6 lumber, screws, drill, exterior paint or stain, drainage holes, potting mix, plants.
Cut lumber to size for a simple rectangular box (front, back, two sides, bottom with pre-drilled drainage holes) and assemble with screws. Paint or stain to complement your home’s exterior color. Mount brackets under your window and set the planter on top. Fill with a mix of trailing plants (ivy, sweet potato vine) and upright plants (pansies, herbs, small shrubs) for a full, layered effect.
This single addition can add remarkable curb appeal and a sense of personality to any home’s exterior.
Tips for Every DIY Project
Before you start any project:
- Read the whole process before buying materials — you may already have what you need
- Test paint colors on a small area before committing
- Buy slightly more material than you think you need (10-15% extra is standard for wood, fabric, and rope projects)
- Take photos as you go — the process is satisfying and your followers will thank you
The most important DIY principle: Done is better than perfect. Your first concrete candle holder won’t look like the one in the tutorial, and that’s completely fine. It will look like yours, which is the whole point.
Which project will you tackle first? Pin your favorites to your DIY board and come back to this list every weekend. We’d love to see what you make — tag us in your creations!
Share this article